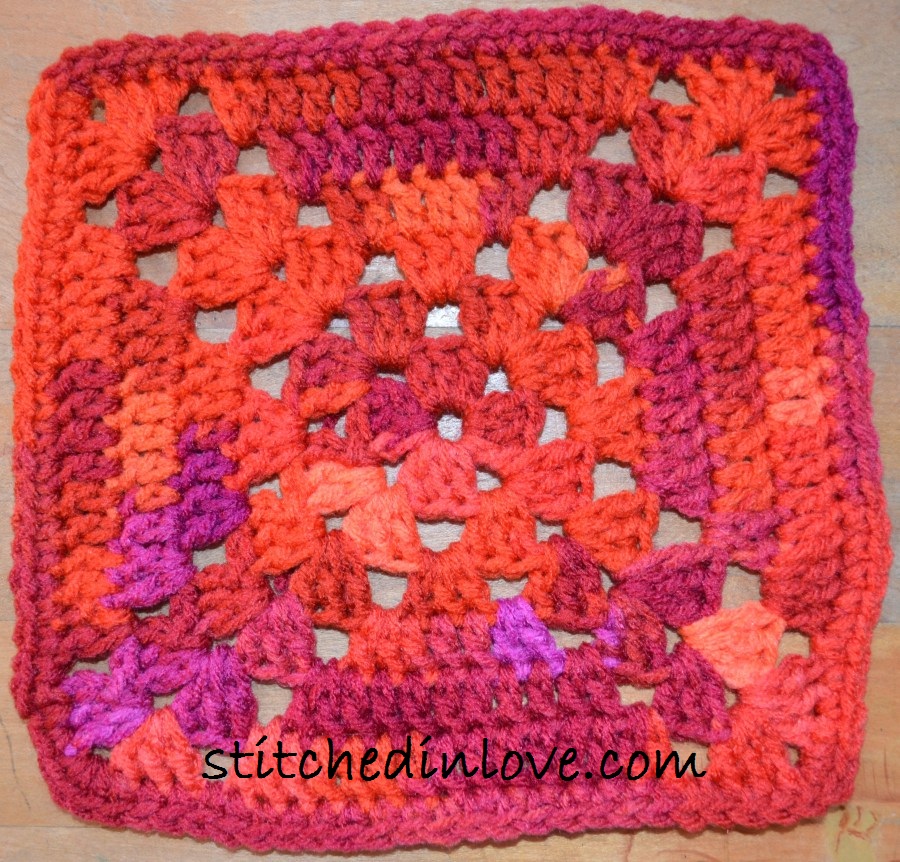
February – Square Three
February’s first square is another very basic Granny. As a matter of fact, the first three rounds are worked exactly the same as the basic Granny I did for January’s first square. However, starting with round four, instead of working clusters (3 dcs) in chains spaces, double crochets are worked in the previous row’s double crochets – with the exception of the corners of course. I completed this square in a single variegated yarn instead of finishing off and changing colors after each round. I prefer January’s basic Granny over this one.
Round 1: Sl st in a magic ring, ch 3, 2 dc in ring, ch 2, (3 dc, ch 2 in ring) 3 times, join with sl st in top ch of beg ch 3, pull tail of magic ring tight to close ring to complete round.
Round 2: Sl st across to corner ch 2 sp, ch 3, 2 dc in same sp, ch 1, (3 dc, ch 2, 3 dc in next ch 2 sp, ch 1) 3 times, join with sl st in top of beg ch 3.
Round 3: Sl st across to corner ch 2 sp, ch 3 2 dc in same sp, ch 2, 3 dc in same sp, ch 1, (3 dc in next ch 1 sp, ch 1) across to corner, *(3 dc, ch 2, 3 dc) in corner ch 2 sp, ch 1, (3 dc in next ch 1 sp, ch 1) across to corner, repeat from * around and join with sl st in top of beg ch 3.
Round 4: Sl st across to corner ch 2 sp, ch 3 2 dc in same sp, ch 2, 3 dc in same sp, ch 1, 2 dc in next ch 1 sp, dc in next dc and in each across to next ch 1 sp, 2 dc in next ch 1 sp, ch 1, *(3 dc, ch 2, 3 dc) in corner ch 2 sp, ch 1, 2 dc in next ch 1 sp, dc in next dc and in each across to next ch 1 sp, 2 dc in next ch 1 sp, ch 1, repeat from * around, join with sl st in top of beg ch 3.
Repeat round 4 until desired size has been reached. Finish off.