Tag Archives: fillet crochet

Christmas Presents 2013

SnowflakesFinally, here are the Christmas presents that I made for the family this past year.  I’ve been wanting to make these as Christmas gifts for several years now.

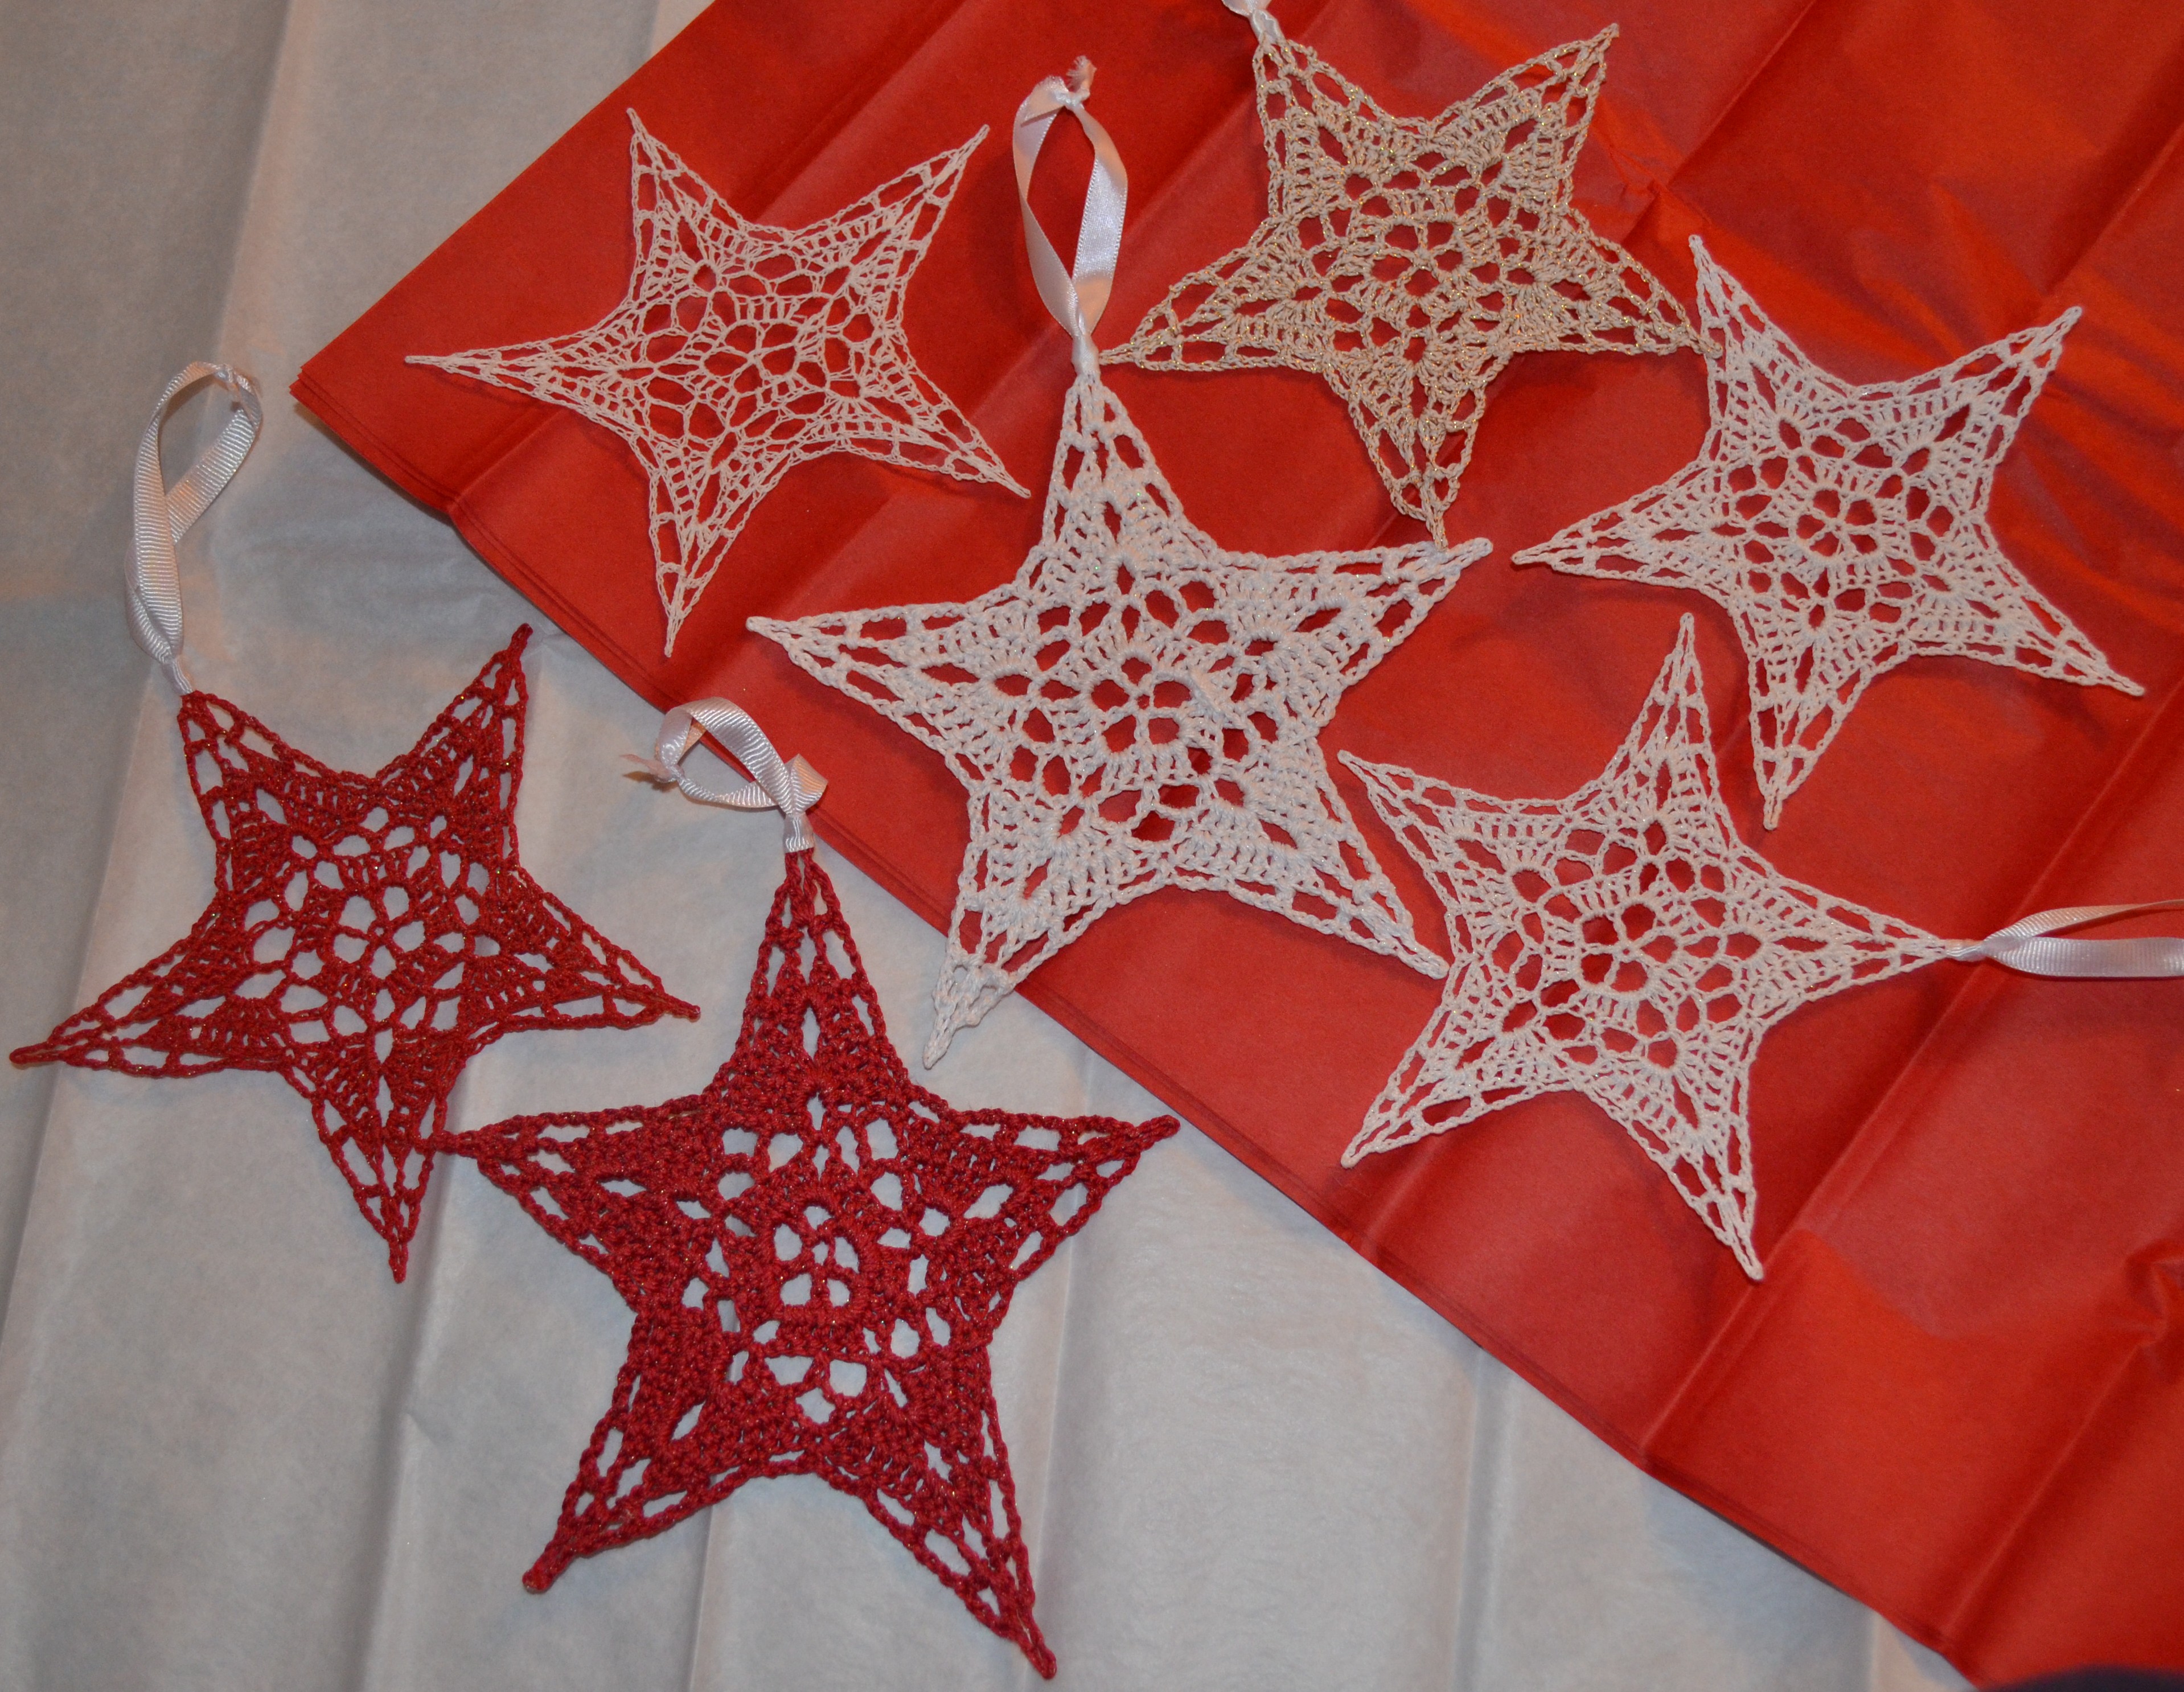
I made a set of 5 starched snowflake ornaments for each of my and my Husband’s Parents and each of our siblings’ families.  I made the same snowflake for everyone rather than using a different pattern for each set.  I had it memorized very shortly and was turning them out in 30 minutes each by the time I got them all done.

I used different thread from size 5 to 20, including one set of gold thread and two different sets of red thread – all of which I already had on hand.  I did have to buy some ribbon for the hangers and I also sprayed each set with glitter spray once they were starched to add a little sparkle.  (That was a lot of fun in the freezing cold temperatures we had this December.)

I picked up old Christmas tins at the thrift store to put these in instead of boxing and wrapping.  I lined the tins with tissue paper to which I added a few drops of scented oil so that you got a nice whiff of Christmas when you opened the them.  In the end it took me a lot of time to make, starch and finish these, but everyone seemed to enjoy them.

Starching and pinning to shape.

Starching and pinning to shape.

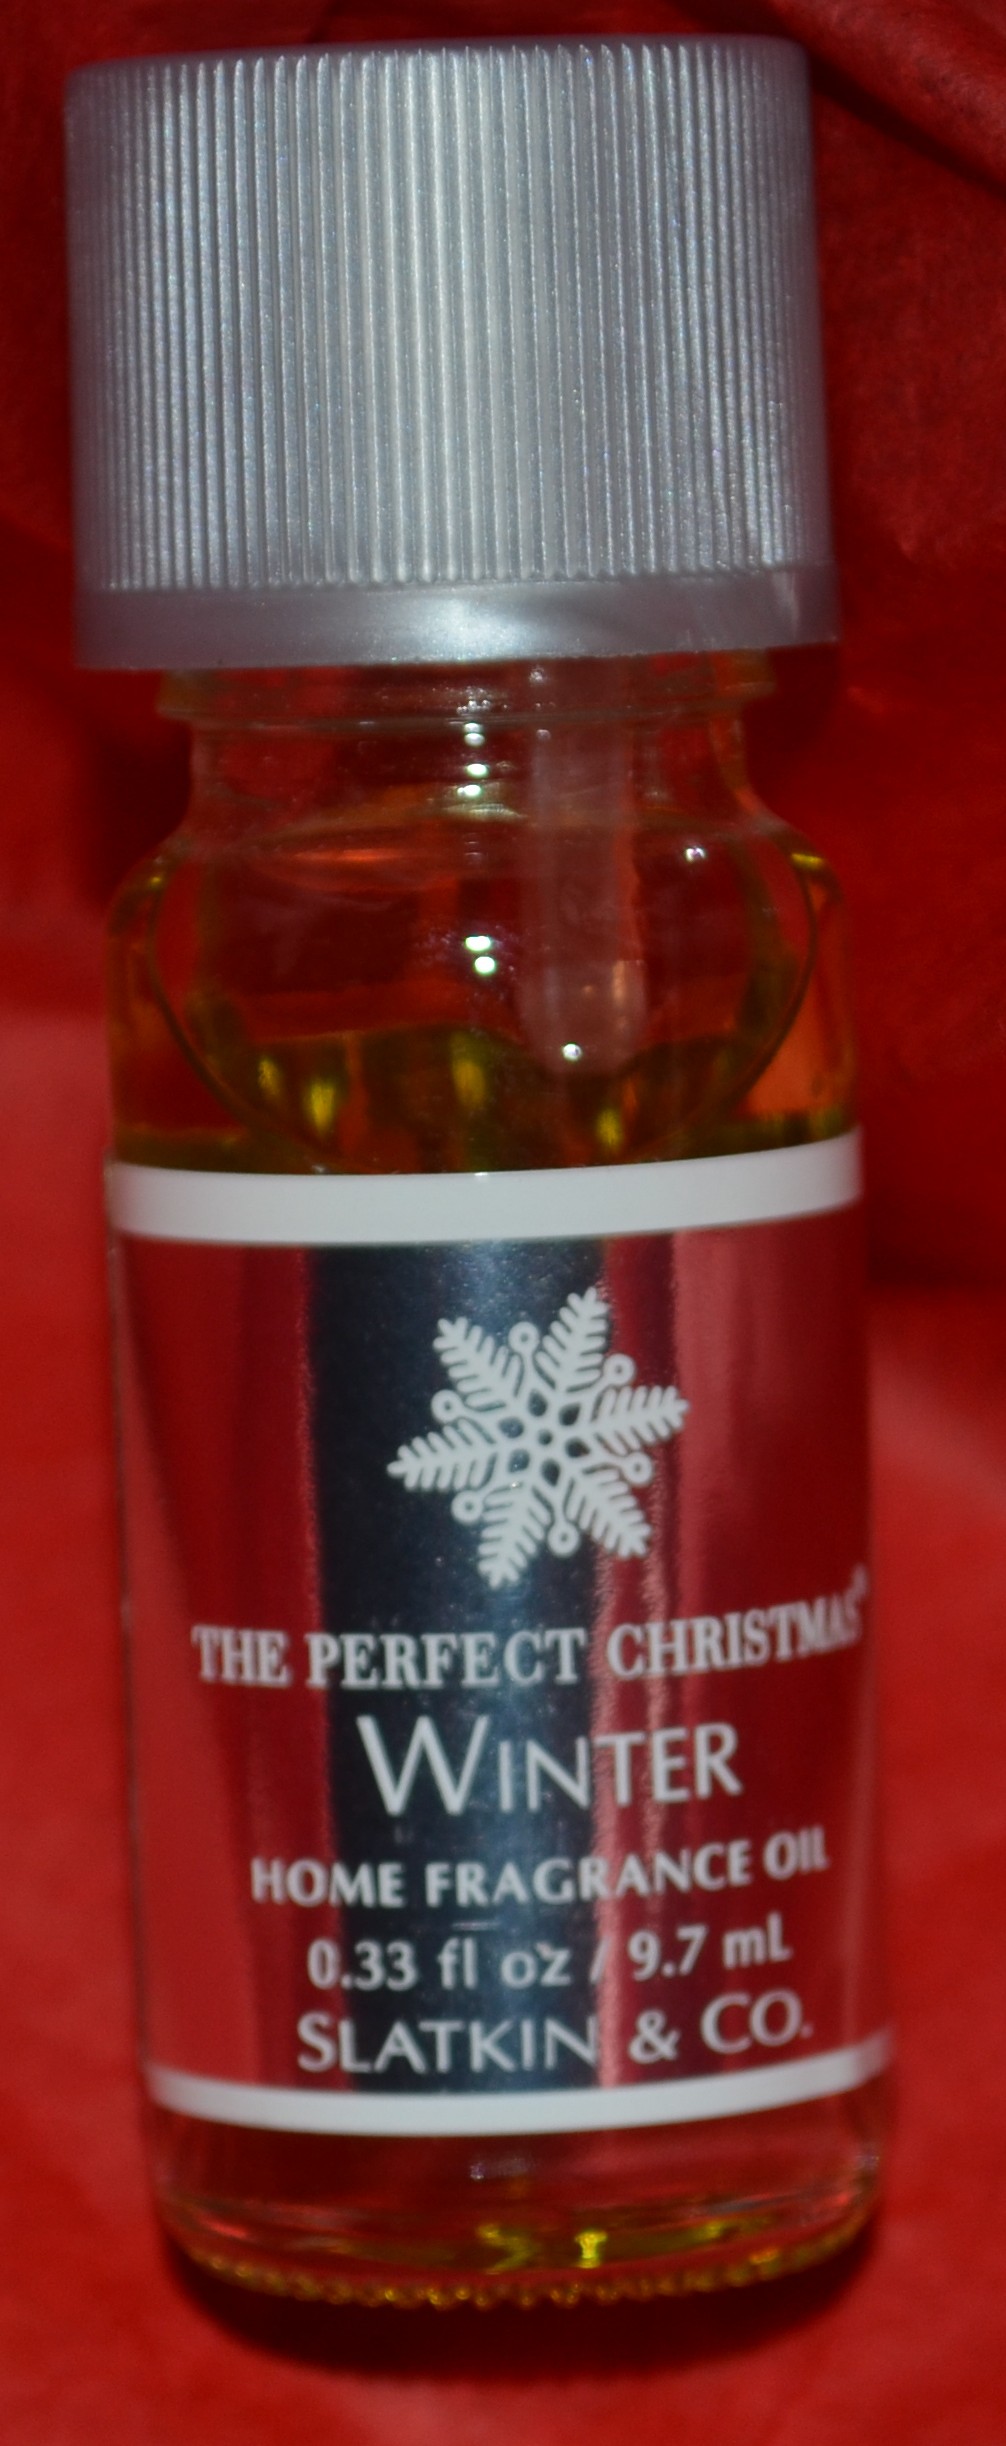
This is scented oil from Bath and Bodyworks. I added just a few drops to the tissue paper before putting the ornaments in their tins.

One of the tins I picked up at the thrift store.

One of the tins I picked up at the thrift store.

This is the gold snowflake which I gave to my Mom.

This is the gold snowflake which I gave to my Mom.

This is my favorite.  I love how delicate it came out using the smaller thread.  My Mother-in-law got this one.

This is my favorite. I love how delicate it came out using the smaller thread. My Mother-in-law got this one.

I plan to make a bunch of snowflakes for myself to put on a second tree in our home eventually.  I’m talking about making a few dozen different snowflakes.  That sure will be a project!

Advertisement

4 Comments

Filed under Doilies, Gifts

Copy-Cat Angel

Remember the Copy-Cat Pansy doily that I made while at my In-laws place for a visit?  Well during our visit with them again earlier this month I saw a crocheted angel that my Mother-in-Law had and decided to copy that too.  I’ve been wanting to make an angel for the top of the tree and this one was just perfect for it.  The left is what I came up with, and the right is the original piece.  

The angel was finished by soaking it in fabric stiffener and then pinning it to a styrofoam cone for shaping and then using hot glue to attach the halo and wings.

I didn’t get the shaping of the wings quite right.  I wasn’t able to finish the wings while I was there and had to work from pictures.  It was hard to see exactly what needed to be done for the wings from those pictures.  But it generally came out pretty good.

Leave a comment

Filed under Doilies, Misc.

Christening Gown

I got the pattern for this Christening Gown  designed by Kathleen Harell from my Mary Maxim catalogue.  Persephone wore this for her Baby Blessing, which we had given during the Christmas Eve Service this year. 

I really loved this pattern.  Clothing is generally not my favorite to crochet, however this pattern was very easy to work up, very well written and easy to read.  The bodice, which you can see better in the stock photo here, works up in one piece, from one side to the back to other side.    This is done with increases for shaping at each shoulder.  The sleeves and the skirt are both just worked onto the foundation of the bodice.  Click on the stock photo to go to this pattern for sale on the Mary Maxim website.

2 Comments

Filed under Baby

Idea – Vintage Placemats

I have been having a really good time using the Word Press Tag Surfer lately.  I get to see a lot of different posts from other people with the same tags as those in my posts.  The problem is, seeing everyone’s wonderful projects gives me all sorts of really good ideas!  So today I thought I would actually start keeping track of those ideas for future projects in a new Category.  That way I don’t forget them!  Now knowing myself, I’m likely to build up lots and lots of ideas and never have time to get to them.  But at least I’ll have the option!

My first idea comes from a fellow bloggers post about a gift she received from her mother of some vintage placemats.   (Click on the photo to see her original post.)  They are just beautiful (and the lovely daffodils really piqued my yearning for spring.)

My idea is to get some vintage material from a thrift store and use it as the center of a doily/table-cloth/table runner or of course another placemat. 

I could use material from clothes or a dress, or whatever, and crochet the edging and make some really neat pieces out of them.

Don’t tell her, but I think my Mom might like a table runner like this.

1 Comment

Filed under Gifts

Copy-Cat Pansy

I was visiting my husband’s family in Iowa for Christmas this weekend.  While there, my Mother-in-Law showed me some doilies she had picked up at a thrift store.  This multi colored pansy doily was one of them.  I had brought some thread with me to work on making some crocheted snowflakes and I thought this was so pretty I decided to try to see if I could replicate it.

This is what I ended up with.  It was such a lovely idea and I enjoyed the challenge of seeing if I could reproduce the piece.  I left both the original and the copy-cat version with my mother-in-law, but I will see if I can write the pattern down and add it here.

I will also be posting quite a few Christmas presents given this year.  I haven’t been able to post them until now because I wanted them to be surprises for the recipients!

Stitched in Love,

Tatha

Leave a comment

Filed under Designs, Doilies, Gifts

Wedding Handkerchiefs

Another gift made for my wedding…  I wanted to make something for my Bridesmaids that they could use for  my wedding that would go with my colors and their dresses.  So I crocheted lace edging on handkerchiefs for them.  I found a unique hankie with their respective initials for each of them on Ebay and then used the same variegated thread for the edging that I had used on some of my candle holders. 

The pattern for these was incredibly simple.  The hardest part was crocheting the base stitches around the handkerchief, right through the material.  After that it was just a matter of chain stitches and single crochet stitches in the spaces those chains made, repeating this around the handkerchief until the desired width was achieved.  Believe it or not, this part actually took quiet a bit of time.

 I made my sister’s slightly different by using white thread for the lace and then using a single round of the variegated thread with picot stitches on the last row.

I also crocheted hankies for both my Mom and my husband’s Mom, each with their initials too.

I used a very simple pattern for these.  However, there are countless lace patterns out there that are more detailed and complex.  Have you done lace edging for a handkerchief?  I would love to see pictures if you have!

Stitched in Love,

Tatha

Leave a comment

Filed under Gifts, Wedding

Pattern – Candle Holders

Materials:

  •  Glasses – These can be any liquor type glasses either purchased new or found at a thrift store.  The sizes included here are 21/4 inches and 31/4 inches in diameter.  Taller glasses may also be used if desired.
  • #10 size crochet thread. One spool will make at least three small covers.
  • Size 6 (1.80mm) crochet hook
  • Scissors

Gauge: 5 rows dc = 1 inch.


Instructions: Written for 21/4” diameter holders, with optional rows for 31/4” diameter.

Row 1: Ch 3.  Join to first ch with slip stitch to form a ring.  Ch 3 (counts as first dc of next row now and throughout.) 8 Dc in ring.  Join to first dc made with slip stitch.

Row 2: Ch 3.  *Dc in next dc, ch 1* around to first dc. Join to first dc made with slip stitch.

Row 3: Ch 3.  *2 dc in first ch 1 sp. Dc in next dc* around to first dc. Join to first dc made with slip stitch.

Row 4: Ch 3.  Dc in next dc. *Ch 1, dc in next 2 dc* around to first dc. Join to first dc made with slip stitch.

Row 5: Ch 3.  *2 dc in first ch 1 sp. Dc in next 2 dc* around to first dc. Join to first dc made with slip stitch.

Row 6: Ch 3.  Dc in next 3.  *Ch 1, dc in next 4 dc* around to first dc. Join to first dc made with slip stitch.

Row 7: Ch 3.  *Dc in next 4 dc. 2 dc in next ch 1 sp* around to first dc. Join to first dc made with slip stitch.

Optional Row 1 for 31/4” Diameter Holder: Ch 3.  Dc in next 7 dc, ch 1.  *Dc in next 8 dc, ch 1* around to first dc. Join to first dc made with slip stitch.

Optional Row 2: Ch 3.  Dc in next 7 dc.  *2 dc in next ch 1 sp. Dc in next 8 dc* around to first dc. Join to first dc made with slip stitch.  (Continue with Row 7.)

Row 8: Ch 3.  Dc in next dc and in each around. Join to first dc made with slip stitch.

Repeat row 8 until the base of your glass can be covered and you have enough rows to form a base.  I repeated 3 times on the small glass and 6 times on the large glass.  This is a personal preference.

Lattice Row 1: Ch 4.  Skip next 2 dc, dc in next dc.  *Ch 2, skip next 2 dc, dc in next dc* around to first dc. Join to first dc made with slip stitch.

Lattice Row 2: Slip stitch in first ch 2 sp, ch 4. *Ch 2, dc in next ch 2 sp* around to first dc. Join to first dc made with slip stitch.

Repeat Lattice Row 2 until your entire glass is enclosed when the cover is slid on. 

Top Row: Ch 3. *2 dc in next ch 2 sp, dc in next dc* around to first dc. Join to first dc made with slip stitch.  Finish off.   Trim and weave thread ends.

Stitched in Love,

Tatha

Leave a comment

Filed under Designs, Patterns, Wedding

Candle Holders

This piece is one that I designed myself, and it was also for my wedding.  We needed 30 center pieces for the tables at our reception.  We really couldn’t see buying 30 floral arrangements that would just die, so we looked to the artistic front.  Fortunately, each of us has some sort of artistic side…

My husband collects vinyl records.  He has hundreds, maybe thousands of them.  So we went through them and picked  out the wedding and love themed albums.  Here are a few examples. 

My Dad made some really great wooden stands to hold the records and painted them a metallic silver. We placed one on each of the tables along with some “diamond confetti” and rose petals.

But, getting to the crochet part…

My Husband-to-be was now represented so I tried to think of something I could crochet to add to the centerpiece that would not be too casual or country for a formal wedding.  I came up with candle holder covers that we could put a tea-light in! 

I made this so simple and cheap.  I went to Goodwill and bought 30 small liqor type glasses.  I don’t think I spent more than $15.  I bought different shapes and patterns, they didn’t all have to be the same.  To make the covers, I used two different colors of thread, a dark blue that matched the sash on my wedding dress, and a variegated pastel that matched my bridesmaids’ lavender dresses. 

The covers were made with double crochet stitches, using increases to form the base, and then a combination of  double crochets and chain twos to create the rest of the cover wich was then easily slid on. Click HERE for pattern instructions.

These candle holders also doubled as gifts to some close friends and family members, as we told them to feel free to take a few off the tables as they left our reception that evening.  I even saved a few myself as keepsakes from our special day.

Stitched in Love,

Tatha


1 Comment

Filed under Designs, Gifts, Wedding

A Wedding Bible

 So the first project I’m writing about was not a gift for someone else, but one of the rare items I’ve made for myself – a Bible Cover for my wedding this past summer.

I found the pattern for this cover years ago in a crochet magazine and I knew right away that I wanted to carry this down the aisle when I got married instead of a bouquet of flowers.  So I put the magazine away in the cedar chest where I keep much of my yarn, saving it.  When it came time, I pulled the magazine out and started putting the materials together, including the bible I had received as a child in 1986.

The cover was made in three pieces (the cover and the two pockets) by holding two strings of thread together and crocheting cluster stitches.   The edging attached and closed the pockets and  included threading pearl beads onto one of the threads and crocheting stitches around the beads.  Ribbon was woven around the edging as well and a length was left at the end to which I added an elegant pearl spray.  I had to modify the pattern slightly to fit the size of my bible.


I don’t crochet with thread very often.  I love the delicate work of fillet crochet used to make doilies and other projects with thread, but the small work really hurts my hands.  Fortunately, this piece was made a little easier by holding multiple threads.  It gave it more bulk than crocheting with just one strand of thread, but allowed the piece to remain more delicate than if actual yarn had been used.

I suspected that a lot of people thought I was crazy when I told them I was going to carry a Bible down the aisle with a crocheted cover on it instead of flowers.  (Though no one actually said so.) But it turned out absolutely perfect and I pined a corsage to the front for embellishment on the big day.


Stitched In Love,

Tatha

3 Comments

Filed under Wedding